Installation and first setup
These notes explain how to get pootlecam running on a clean build of Raspbian Lite (or any other Raspbian build).
Much of the installation can be done with a simple setup script included in the repository.
Setup using the script
This setup can be used on a fresh build of raspbian, and includes an update of Raspbian at the start of the script. You still need to use raspi-config to set the network name, change the pi user’s password and enable the camera.
The time from first power on of a fresh install to complete the script is about 11 minutes on a Raspberry pi Zero, but this will depend on how many updates have to be installed.
If you installed Raspbian lite then just login, if you have the full version of Raspbian, start a shell window.
After logging into your Raspberry pi, first fetch the software from the repository:
wget https://github.com/pootle/piCameraWeb/archive/master.zip
Then unzip all the files:
unzip master.zip
and rename the folder ( cos its a bit long and clumsy by default ):
mv piCameraWeb-master piCameraWeb
Note that the name piCameraWeb is built into some of the later instructions, so if you use a different folder name some of the things below need adapting.
Now switch to the folder with the setup scrip[t and related files:
cd piCameraWeb/setup
and finally run the setup script:
sudo ./setup.sh
check the camera
To confirm the camera is working, use this command:
vcgencmd get_camera
this will return ‘supported=1’ if camera support is enabled and ‘detected=1’ if a camera is detected.
or you can take a photo by using the command:
raspistill -v -o test.jpg
After a couple of seconds the command should finish, check for the file (test.jpg) in the current directory. If it is not there, then either the camera is not enabled in raspi-config (the last line of the raspistill output will say this), the camera is not properly connected, or (unlikely) the camera is broken.
Preparing to run
If you need to use gpio (e.g. PIR motion detection via a GPIO pin) arrange to start the pigpio daemon on boot.
First check where pigpiod is installed:
whereis pigpiod
Then arrange for it to start on boot:
sudo crontab -e
and add the line (amend the location if whereis shows it is somewhere else):
@reboot /usr/bin/pigpiod -c 256 -s 10
The -c 256 parameter runs the daemon in realtime mode - that is it is given a high CPU priority.
The -s 10 parameter means that the daemon runs with a sample rate of 10 microseconds, rather than the default of 5 microseconds. This reduces the CPU load especially on a Raspberry Pi Zero. For this application a few extra microseconds to trigger something is not important.
If you want to start pootlecam automatically on boot a simple way is:
crontab -e
and add this line at the end of the file:
@reboot ~/piCameraWeb/start.sh
(adjust the folder name to match the folder this package is in.)
Test running
Before rebooting, or if you don’t want the start script run automatically, you can run the program interactively. This is a slight variation on the command used in start.sh as it logs messages to the console.
Remember to cd piCameraWeb (or whatever folder you installed to).:
python3 webserv.py -v 30 -c dummyConfig.py
The first line logged identifies the ip address and port that the web server is using. Copy and paste this to a web browser to see the web site. You can run the web browser on any local PC, phone or tablet. (Local means in network terms, on the same subnet)
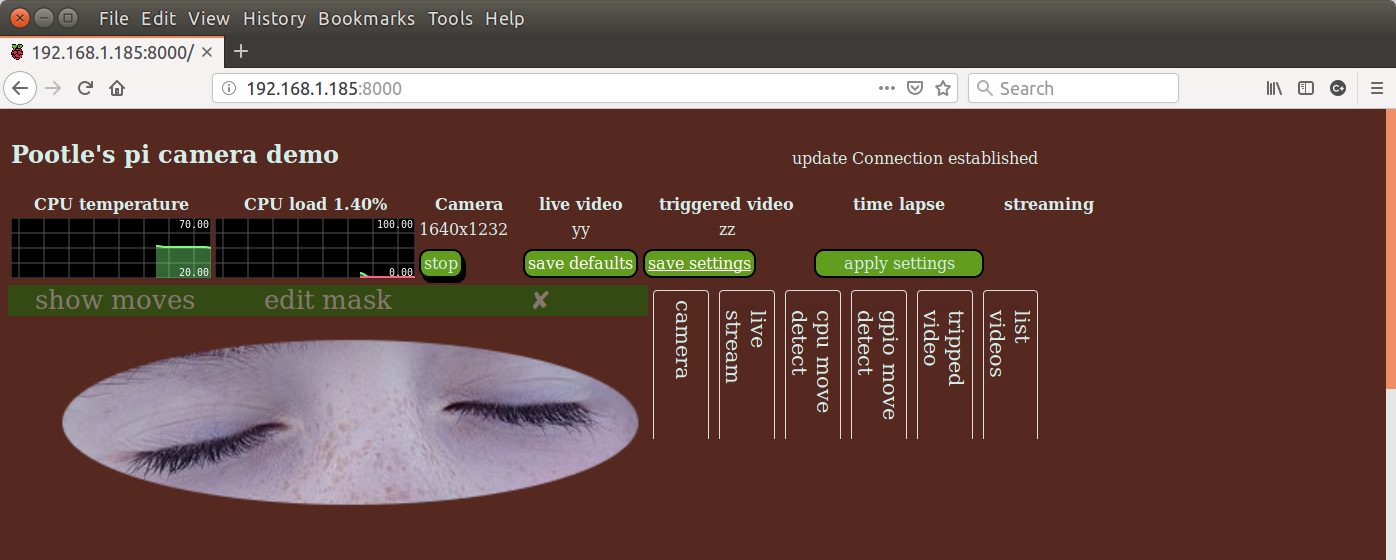
You should now see a screen something like this:
Power saving
Especially if running from solar or a battery pack, see power saving info here.